The Groote Kerk
This is the oldest Tower/Turret Clock I have worked on.
A very big thank you to www.kyknet.tv for the awesome insert.
Restoring The Clock
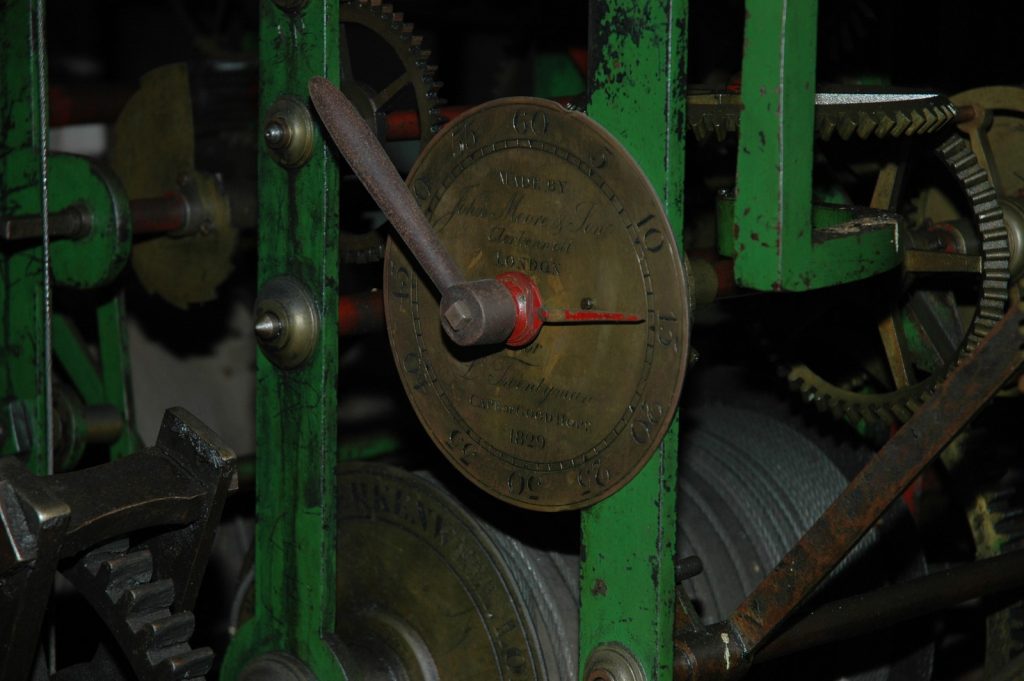
The story is interesting. I was approached by Gert Esterhuize one of the members of the church council of the NG Groote Kerk in Adderly Street Cape Town and asked to provide a quote to restore the church clock, this was about 2-3 years ago. I initially went to the church and had a look at the beautifully made mechanism. The clock had a dial inscribed John Moore and Sons 1829.
We started the restoration in August 2017, set up a marquee as a spray booth and took all our equipment to the Church. I have repaired clocks for many years and was trained (learned the hard way) not to do partial repairs. At first, I allowed myself to be convinced to do a smaller partial repairs and “just get it running” however I found that on every occasion there were overlooked problems that "came back to bite". Whenever I restore a clock I make certain to check that components of every clock I work on to make sure there are no issues that get overlooked.
The Restoration Begins.
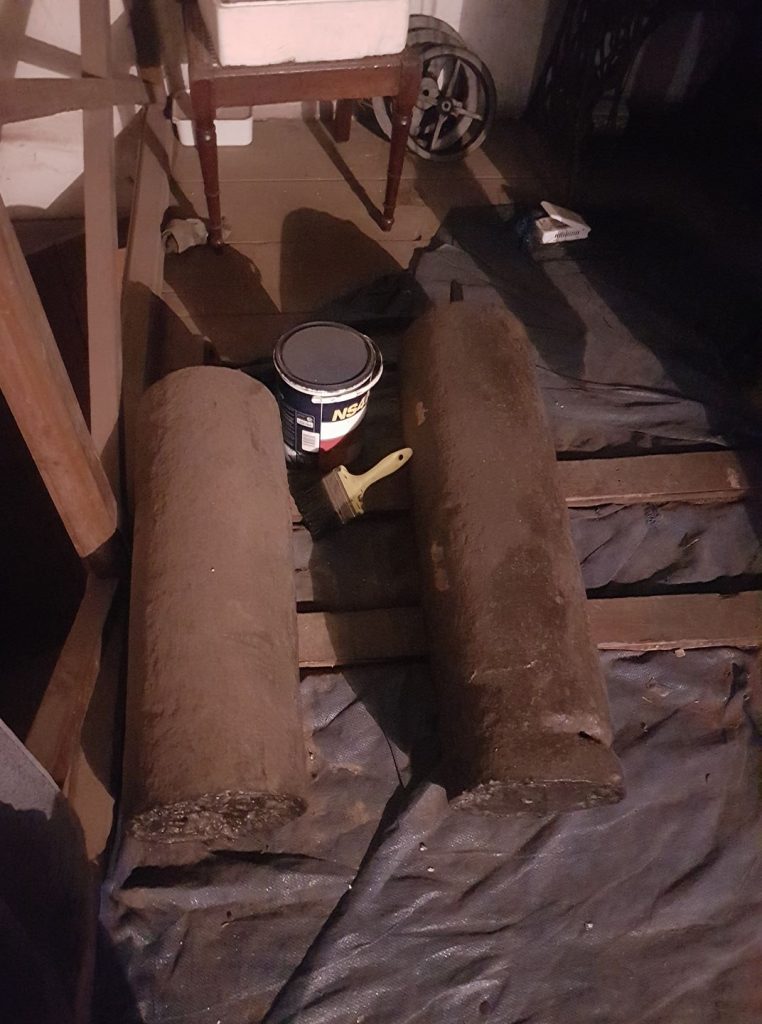
We opened a section of wooden panels where the weights run and used the clock to wind the weights down to a floor level and removed the power/weights.
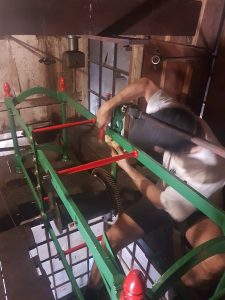
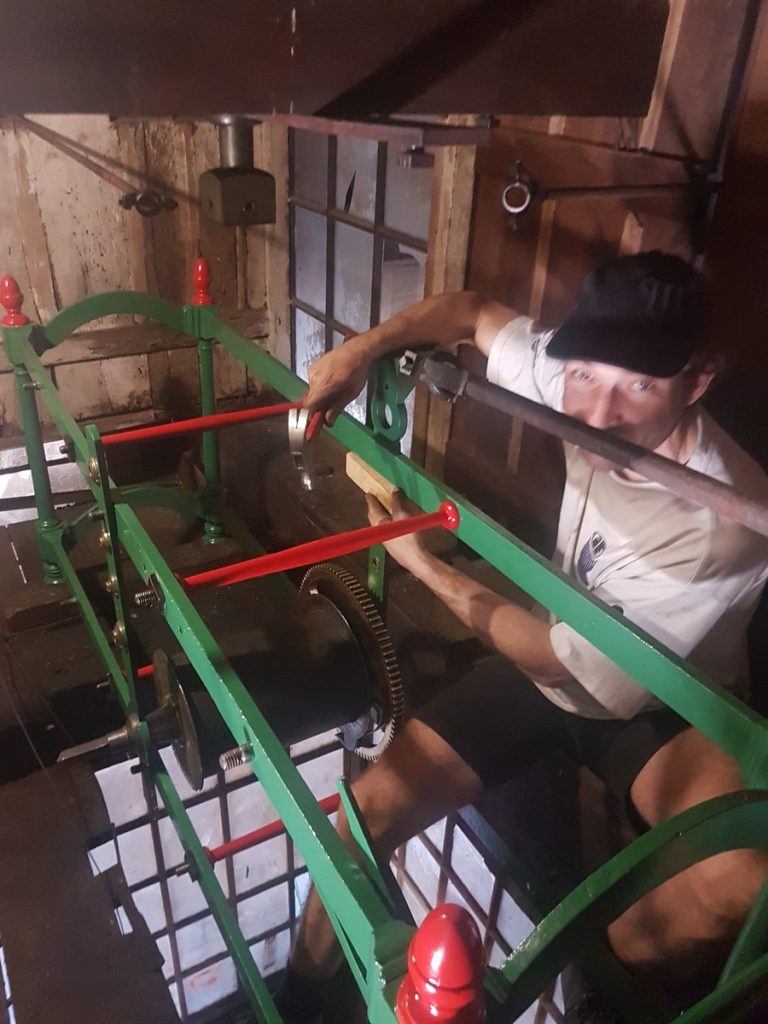
We removed the gear trains one section at a time and carried them down a few flights of stairs. We kept all the parts in separate containers to avoid confusion later on (but we managed to mix them up just to make life more interesting). I keep saying we, so time to mention Shamus Mossop and thank him for all the effort and hard work, he, like me never drops, misplaces or damages parts. We both had a fair amount of backache which got a bit better after the heavy carrying.
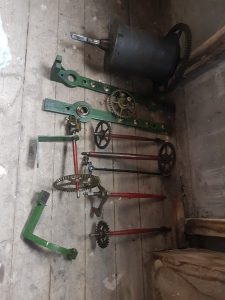
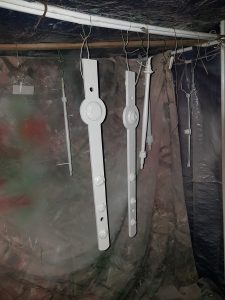
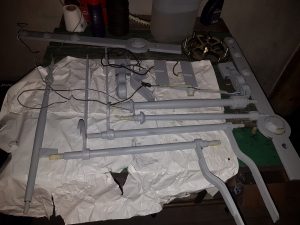
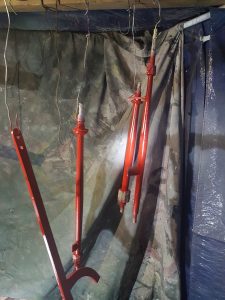
We removed years of grease, oil and I don't know what from all the parts, stripped the paint, cleaned (again), polished all the bushings and masked them off to prep for spraying, got the paints color matched (realised you can't match 180 year old paint, so did some research and discovered in the 1800 hundreds there weren't 70 different greens and 70 different reds there were basic colors and these were used all over the world). We also discovered the reason green was mostly used on steam locos is because it does not show up dirt as easy as other colors. We got the original green and red as well as the primer and hardener (all paints are 2k industrial i.e. what they use on cars). The paint is - obviously - not original, however technology can help sometimes and, paint is paint. We hung the parts from the ceiling of the gazebo with wire, sprayed primer and waited for paint to dry (yes this is a real thing people do, not just a saying), sprayed the colour, and repeated the same process with the next parts.
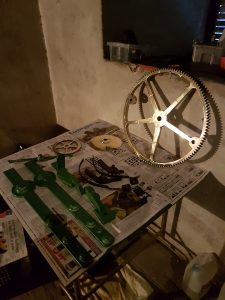
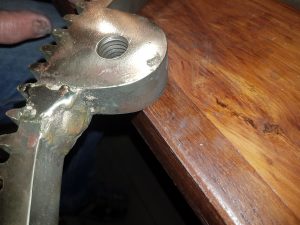
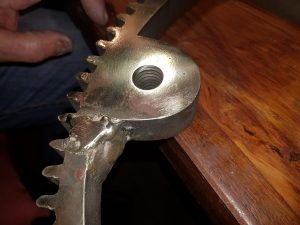
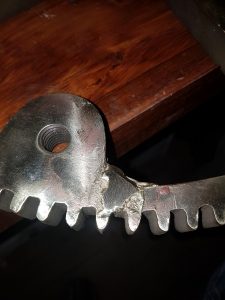
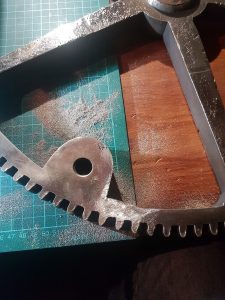
One of the gears which was previously repaired and needed a bit of attention. The gear must have broken at some stage and was welded/brazed together, The job was sturdy but it was never finished off so it did not look attractive. After inspection we decided to clean it up. This did not effect the strength of the weld just made it look a bit neater.
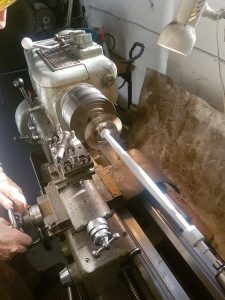
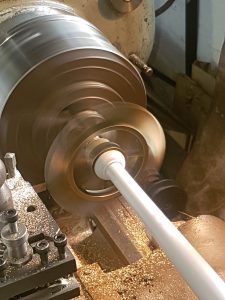
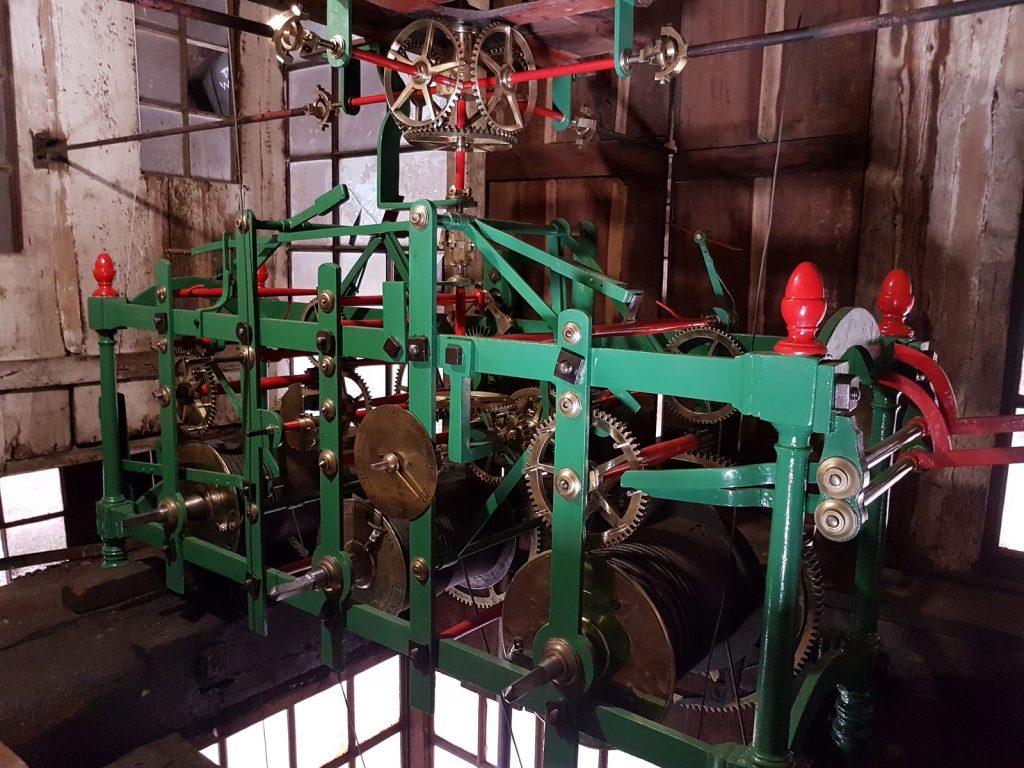
Once all the bigger parts were painted and refreshed, we moved onto the "real" clock repairs. The first thing we repaired was the escape wheel. Some of the teeth were bent, not a lot, but enough to cause issues. There were also some teeth that were slightly shorter than the rest. We placed the wheel into a lathe and reduced the teeth tips very slightly, to even the teeth. This meant the pallet had to be adjusted accordingly. Luckily, this clock was very well made and the pallet has adjustable ends, so we added a small spacer under the ends which worked perfectly.
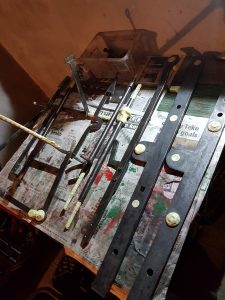
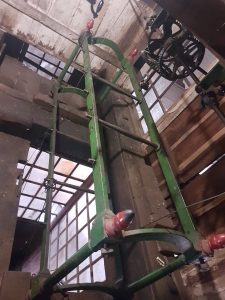
Then we moved onto the Frame of the clock. The frame consists of large cast iron sections bolted together. We took this apart and carried out the stripping/painting procedure.
Once all the parts were inspected, painted and repaired, we started with the installation. We installed the Main Going Train of gears one gear at a time and checked for faults. I had previously noticed that at some stage most of the bushings had been repaired by inserting new sleeves into existing bushings. This would be a standard repair for all clocks just on a larger scale. The work was well done, as it is not an easy task to centre bushing sleeves in such large bushings. When checking the gears I discovered that the work was also done well. There were three gears that had no lateral play/end shake and the gear directly below the escape wheel was so tight it could not run freely, luckily we were able to move the sleeves slightly to create lateral play and open the bushings up slightly to allow free movement. Once each gear was checked separately and running freely we installed the parts.
We then connected the weight and got the clock running for the first time in many years. We installed the first section the Going/Time gear train without any of the gears that connect the hands. This was to test-run and make sure there were no problems. We find that this provides a good method to check everything, as if the clock runs without other gears attached and stops when you connect the gears, you can more-easily identify the source of any problem.
After this, we restored all the connecting gears while installing the strike and chime gear train. Approximately four months later we finally connected the hands for the first time. It was very rewarding and satisfying to see the clock finally running after many years. We have had one or two snags. One of the problems we encountered was related to the structure that holds the top section of gears that runs to the hands. The wooden supports are held in-place with cross sections of wood to stabilize them and over-time, they had shifted. There is a universal joint connection to allow for movement but we found the gear shafts were badly out of alignment. To correct this we loosened the supports and moved the structure to correctly align them.
I have a lot more information and pictures. If you are interested in more details or have any queries, please can contact me via e-mail: timemenders@gmail.com
A final big thank you to:
- Gert Esterhuyse from the Groote Kerk. The restoration was done because of Gert’s passion and persistence.
- Ian Pretorius from the Simon Van Der Stel institute for helping with the funds.
- Shamus Mossop for all the hard work.
- www.kyknet.tv for the awesome insert and exposure.
Time Menders would also like to thank everyone for allowing us to do what we love best and get another important part of South African history restored.